Jammin'
I don’t eat jam. So why did I just spend 4 hours obsessing over hygienically converting 2 flats of raspberries into 6 little canning jars of jam? Well, OK, I use jam to make things like cookies and cakes.
For you sharp readers out there, I froze the raspberries until I had time and cooler temperatures to deal with them properly.
Why 4 hours? Because I’m a perfectionist who hasn’t canned in a year, and my sterile techniques were a bit rusty. The last thing I was going to do was cut corners, so I ended up having to bring my large canning pot to a rolling boil more frequently than I should have needed to should I have been on top of my game. And then, when I was all ready to start dispensing hot jam into my sterile containers, the freshly sterilized ladle fell on the floor, so there was even more boiling to do.
The best part of canning is always the space of time after the actual process, when you linger in the steamy kitchen listening for the popping of the seals.
I will record my jam recipe here for my own reference, as it contains only a small amount of quince pectin, which threw off the sugar ratio somewhat. In general, a good berry jam recipe is to use 6 cups of sugar to 9 cups of berry juice.
Nearly Seedless Raspberry Jam
Process raspberries a handful or so at a time through a food mill to extract the juice from the seeds. Some seeds will make it into the juice, but most of them won’t.
Measure out juice – I had 7 cups of juice
Calculate the amount of sugar you need to add with the following formula: (amount of juice) * 2/3 --
I rounded up and used 5 cups of sugar, because I was also adding ½ cup of quince pectin.
Mix juice with sugar (and pectin) in a large pan over medium to high heat and bring to a boil, stirring occasionally. Be careful as your jam reaches the boiling point, as it will begin to froth quite a bit. Remove from heat as necessary to keep the jam within the pot, and keep stirring until it settles down while still boiling. Then reduce until it thickens to your liking. One way to test thickness is to watch how it drips off your spoon. As the individual drips begin to flow more into a sheeting action (mine never really reached a true sheeting action), your jam should be at a reasonable reduction. Pour into sterile jars to can in a boiling water bath, or pour into clean jars to store in the refrigerator.
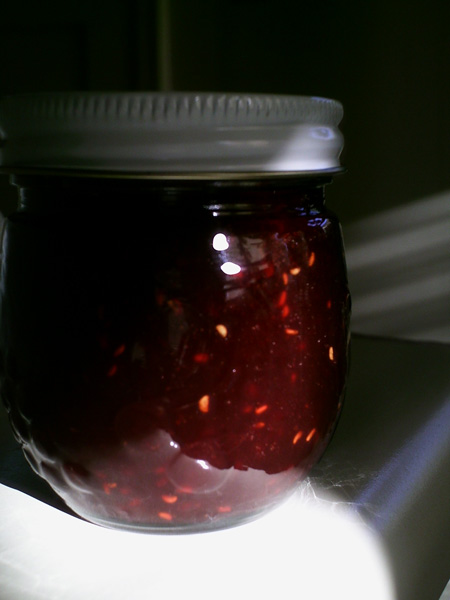
The extra jam I had after filling my canning jars jelled very well once it cooled. This is not representative of the jelling in the canned jars, since the extra processing during canning can compromise the jelling somewhat.
posted by Jade @ 9:48 AM
2 comments
![]()

2 Comments:
I bought 6 stevia seeds for $5.50 YIKES!.. plan on canning with this sugar substitute next season.. Stevia likes "wet feet" and I like pectin..ie the seeds in raspberries. I mean, where would we be without toothpicks huh?
Let me know how your stevia grows. Documenting it on your blog would be interesting. I suspect they prefer heat, as it is a tropical plant.
I usually don't mind seeds too much either, but occasionally it is just nice to do without too many, especially in things like cakes or cookies. My opinion, of course.
Post a Comment
<< Home